Manage Users
Problem solved: Provides any user, with “Manage User Access” privileges, the ability to add users to the project or edit users already existing within the project that they are working in at the time.
Description: If a small number of users are going to be setup, then working directly with the User Management is fine. If a large number of users are going to be setup, it is recommended to work with User Templates. However, we recommend the best practice of working with templates even if your project will have only a small number of users.
Under the Admin section of the menu, administrators select the Manage Users option. This provides the user with a list of users that they have the privileges to edit. Simply select the user you want to edit or pick the large green button titled “Add User” in order to add a user. It is worth noting that you cannot edit your own account.
All changes to an account only take effect on the next login. Newly created users will receive their login information, only if they are completely new to Jetty. Otherwise they will receive a notification letting them know that they have been setup with another project.
There are 5 blocks:
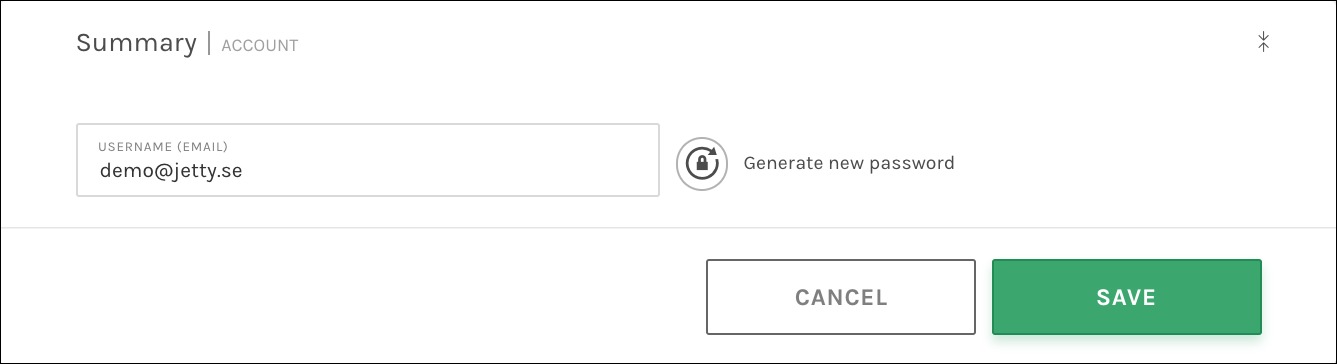
Summary (Account) – No fields can be edited in this block; however, when in edit mode, you can have Jetty generate a new password for the user. The password change would effect the user, regardless of which project they were logging into Jetty to work with.
Summary (User) – All fields can be edited and will effect the user information within all related projects.
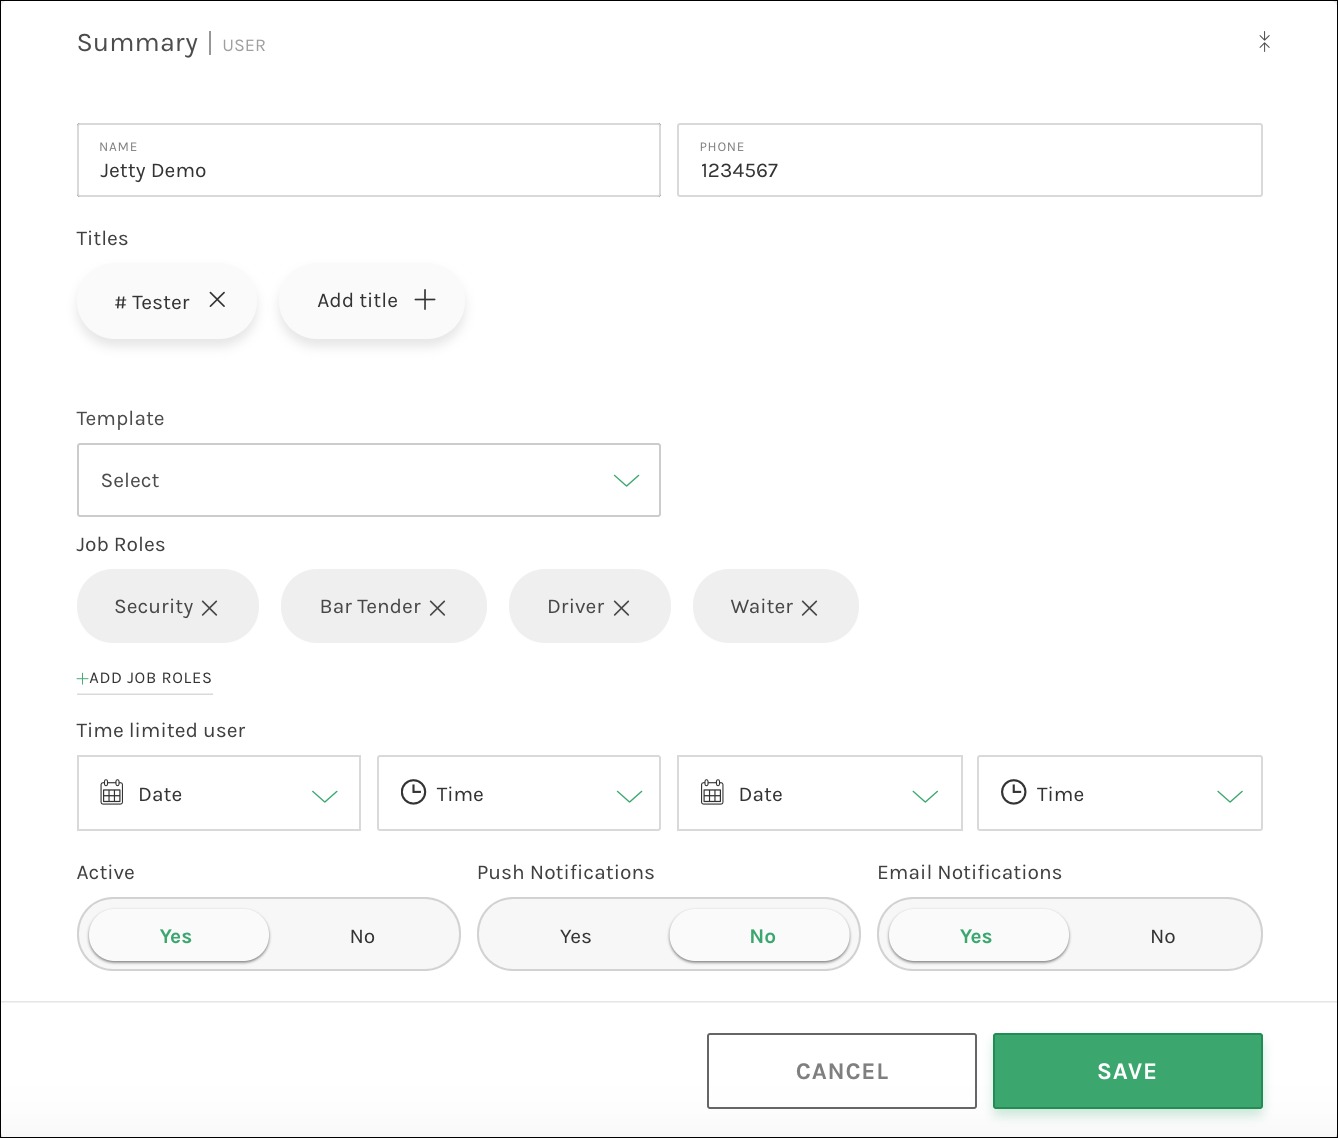
- The first fields are for the user’s name and have been broken down into First Name and Last Name. There is also a field for Phone, which is the same as the user’s contact phone number. These fields are controlled by the user, as long as they have access to the My Account page (which can be controlled in another block).
- Titles allow for multiple titles for each user, although none are required.
- Templates (For more detailed information on these, read the Manage Templates article.) Generally, a template is selected when a user is created. If a template is selected later, it will adjust all the settings for the user being edited. You will need to save the changes before you begin tweaking the user rights further with the template in place.
- Job Roles is a feature that partners with the Tasks function. Basically, the user can have as many Job Roles as makes sense, depending on the project demands. Examples: Security, Bar Tender, Stage Hand, I.T.
- Time limited user allows an administrator to setup users that only activate on a certain date and time. Likewise, administrators can set up a time and/or date for the user(s) to stop being active. You can choose to set up only one bookend or select both a start and stop date.
- Active is rather straight forward; the administrator can either disable or enable a user. This would effect the user within all related projects.
- The final 2 controls are for notifications – Push and Email. The user can control these themselves, as long as they have access to the My Account page (which cane be controlled in another block).
Overall Rights – These controls can vary depending on the settings of the project and client. Regardless, they are user and project specific. Even if nothing is activated or enabled, the user will be able to login but won’t see any of the items contained within this block.
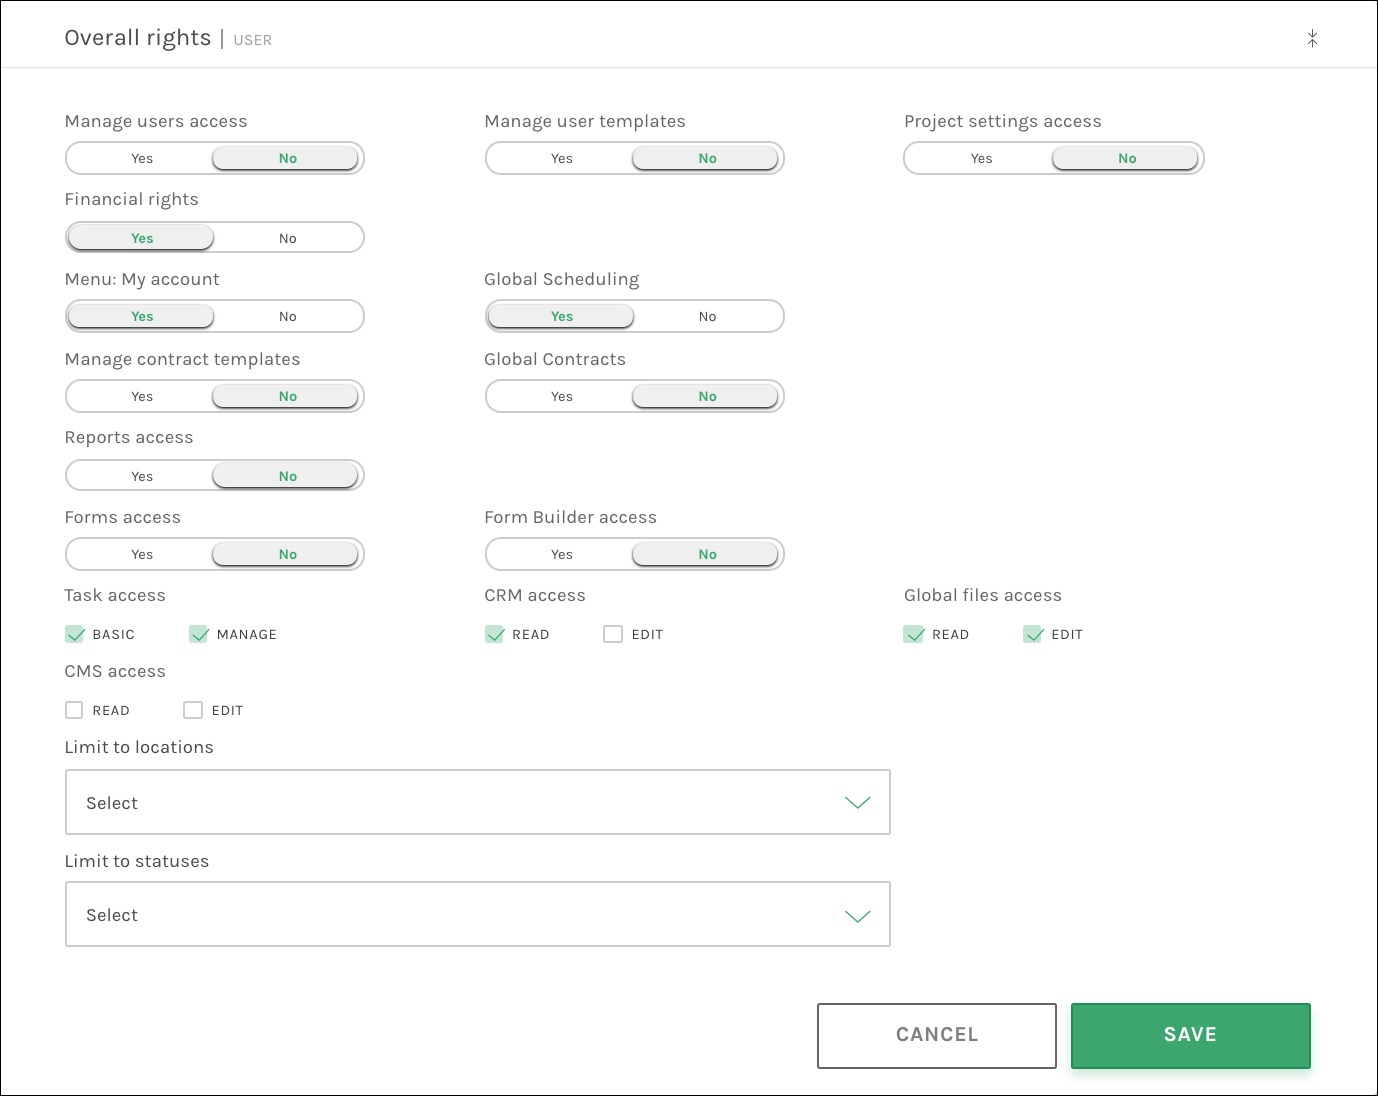
- The top section is devoted to Yes/No options. An administrator is only able to provide access to items that they have access to. Example fields: My Account, Report Access, Financial Rights
- The middle section allows for varying levels of access to different items. CRM and Global File Access are the only standard available options. Tasks and CMS depended on the client.
- Limit to Locations and Limit to Statuses are the final fields that allow for users to be limited to specific stages. If no limitations are required, these fields can be ignored.
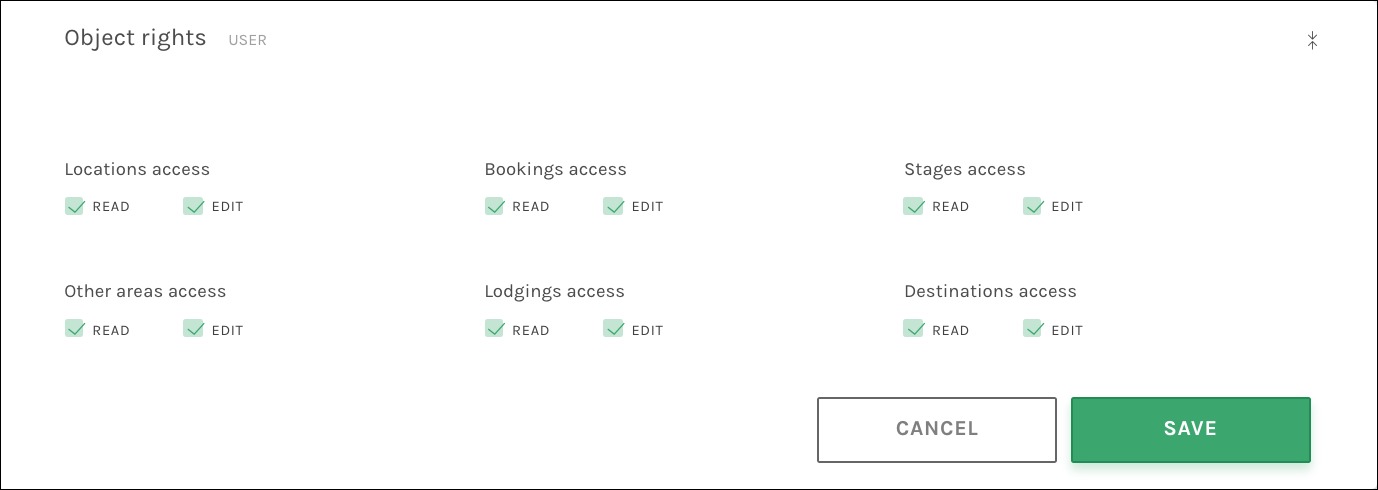
Object Rights – In order for Jetty to be as dynamic as it is, certain parts of the information are contained in what we consider ”Objects”. As with many things within Jetty, the objects can vary depending on the type of client and desired settings for that client. Depending on the type of user, they do not necessarily need access to any objects and could still use Jetty in a productive manner, such as only using the Tasks feature. Each object, typically around 6 different types, can be set from No Access to Read-Only and then Edit. Use the checkboxes to control the settings.
Block Rights – Once a user has been assigned access to different objects and those settings have been saved, the user can then be granted Read-Only or Edit access. This access applies to blocks contained within those objects, either by setting overall access rights or by curating the access.
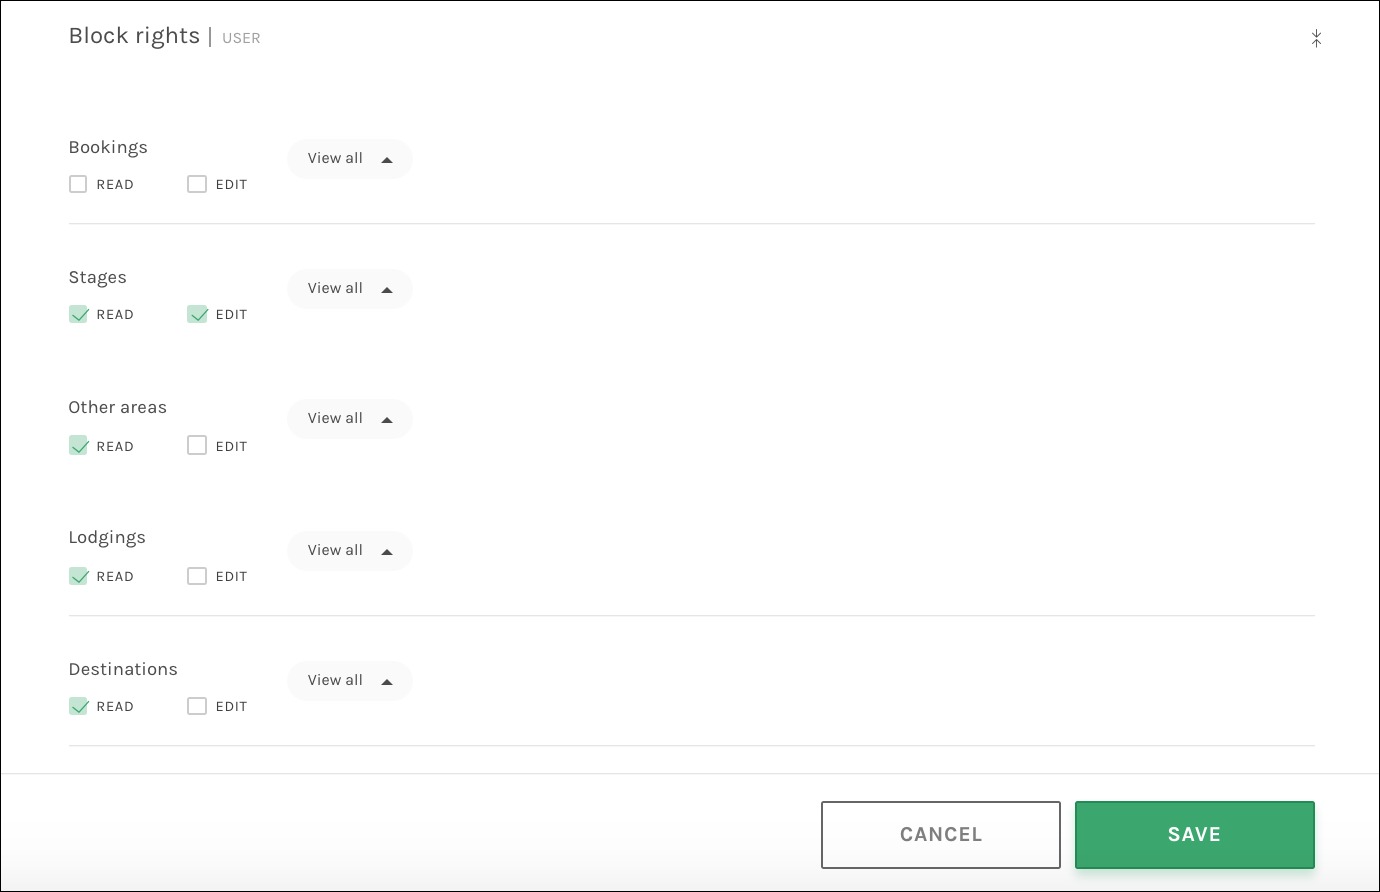
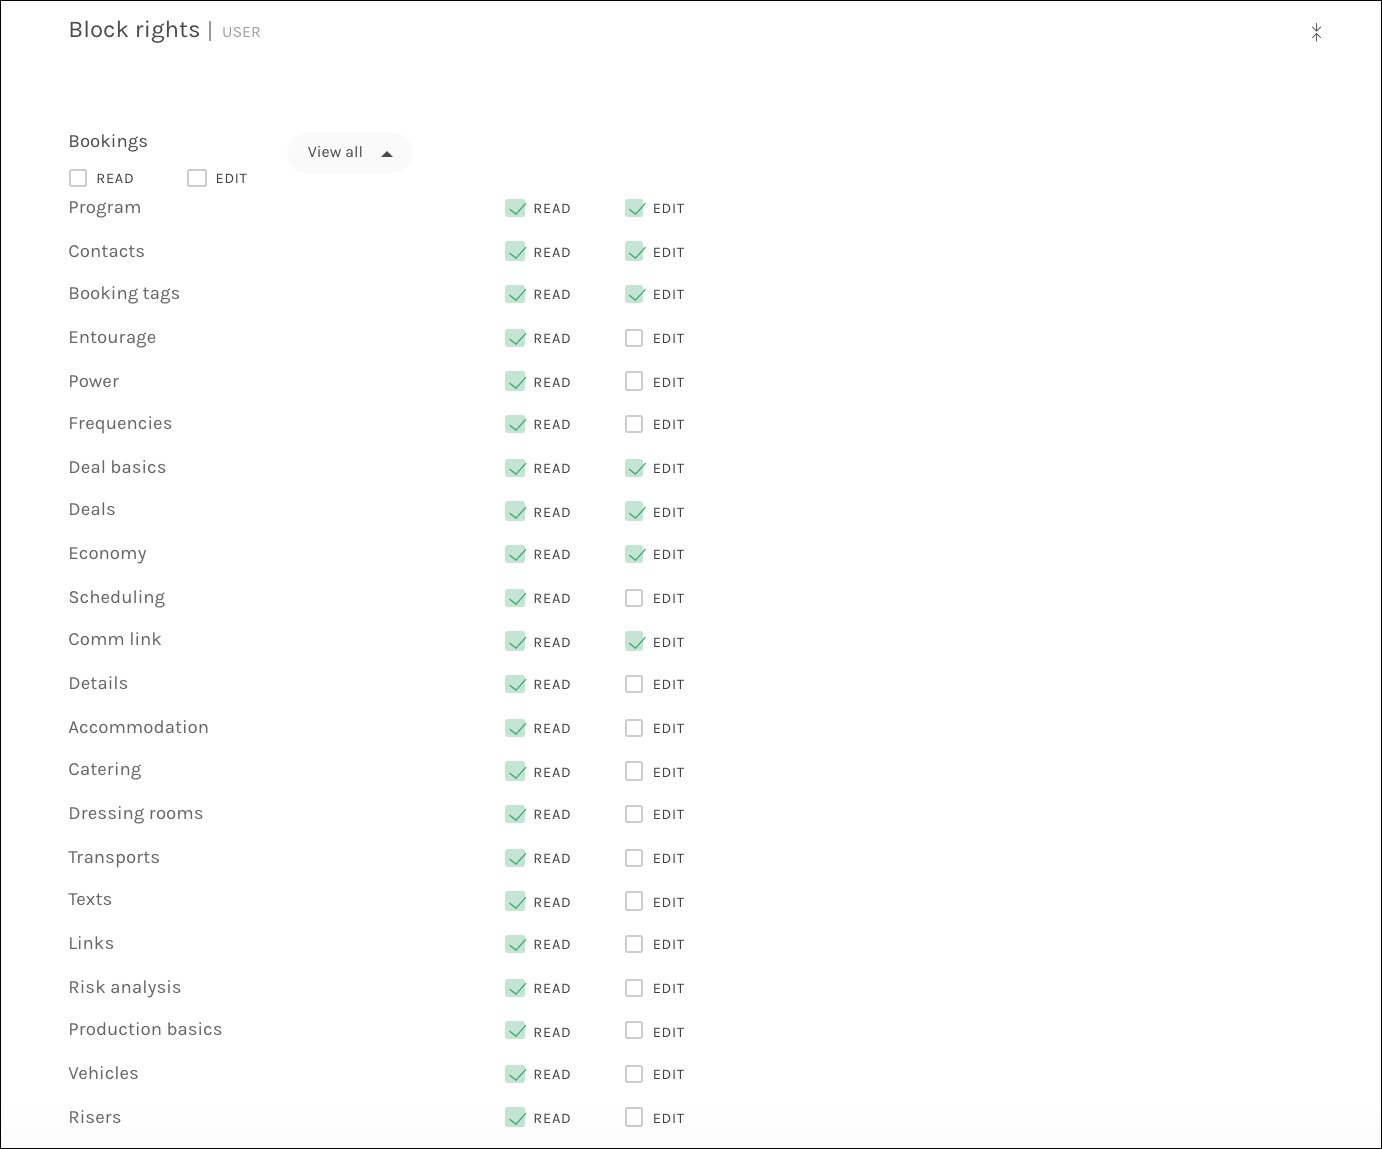
This is done under Block Rights by using the ”View all” function, which expands to display all the blocks, allowing the access to be controlled block by block. If a block is not set to ”Read” or ”Edit”, the user will not see the block at all.
Available fields:
Block: Summary (Account) – Effects user, regardless of client or project
- Generate new password – The password is generated on the click, ”Save” is really not required.
Block: Summary (User) – Effects user within all projects contained under the same client
- See the field descriptions above.
Block: Overall Rights – Effects user settings only for the current project. Options can vary depending on the setup of the client.
- See the field descriptions above.
Block: Object Rights – Effects user settings only for the current project. Options can vary depending on the setup of the client.
- All objects will have the same options. (No access, Read-only, Edit)
Block: Block Rights – Effects user settings only for the current project. Options can vary depending on the setup of the client.
- All sections will allow the same controls. (Read-only, Edit access, Expand to control by block)